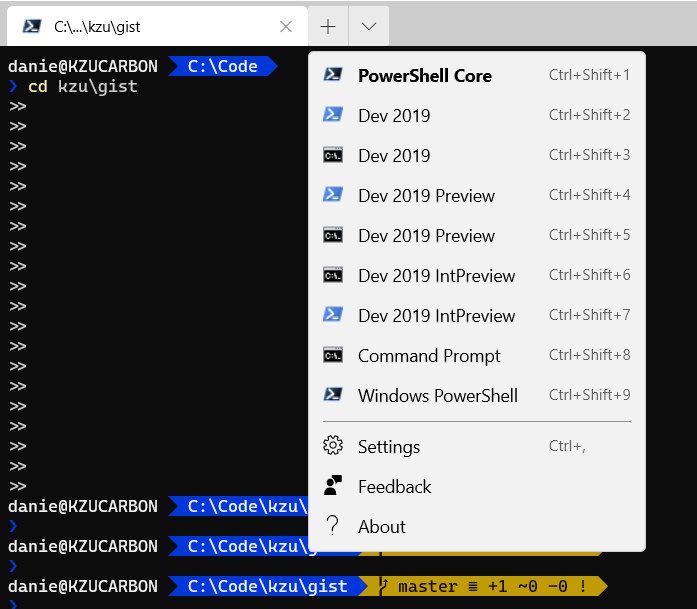
I usually switch between VS versions, powershell and regular command prompt. Having a quick access Windows Terminal tab ready is indispensable:
Scott Hanselman has already written an excelent overview of the general features, the new format and how it all works, so I won’t repeat any of that here.
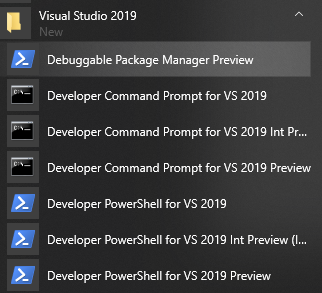
What I do think is valuable to share beyond that, is how to get proper “DevEnv” environments with the right variables just like the various links installed by Visual Studio do (i.e. Developer Command Prompt for VS 2019 and Developer PowerShell for VS 2019).
For command prompt, it’s just a matter of copying what the VS shortcut points to:
"commandline" : "%comspec% /k \"C:\\Program Files (x86)\\Microsoft Visual Studio\\2019\\Community\\Common7\\Tools\\VsDevCmd.bat\""
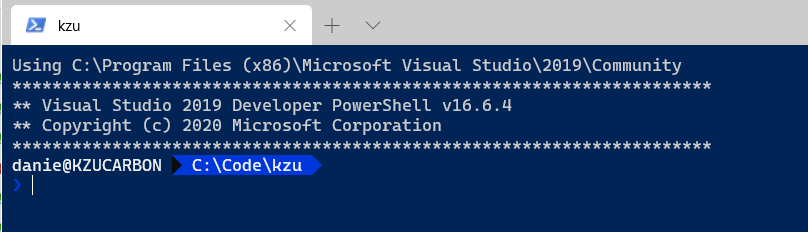
For PowerShell, it’s a bit more nuanced, since by default the VS provided link will contain the VS installation ID, which is not stable and will change if you reinstall VS or move to another machine (more on that later):
"commandline" : "powershell.exe -noe -c \"&{ $installDir='C:\\Program Files (x86)\\Microsoft Visual Studio\\2019\\Preview'; Write-Host Using $installDir; Import-Module ($installDir + '\\Common7\\Tools\\Microsoft.VisualStudio.DevShell.dll'); Enter-VsDevShell -VsInstallPath $installDir}\""
The startingDirectory doesn’t seem to work when starting powershell this way, so I append a ; cd C:\\Code\\kzu at the end of the above command line, which results in what I want:
A key reason for using the -VsInstallPath in that commandline for powershell is so that the profiles.json can be automatically synchronized across machines. Visual Studio will install to certain default paths (unless you change it), namely: %ProgramFiles(x86)%\Microsoft Visual Studio\2019\[Community|Professional|Enterprise]. All preview editions will install by default to %ProgramFiles(x86)%\Microsoft Visual Studio\2019\Preview. This means your profiles.json can be at least very predictable for those two locations and work across machines.
I just moved my profiles.json to OneDrive, and then symlink it to the folder where Windows Terminal expects it to be and things (obviously) just work. My full profile for the above screenshot, if you’re instered, is in this gist.
/kzu dev↻d